
Casting is a sequence, not a skill. Each step has one job, and doing them in order is most of what separates a clean first piece from a disappointing one.
Read the whole thing once before you start. Once the powder meets the water you are working to the material’s schedule rather than your own.
What you’ll need
- FormCast+ powder
- A silicone mould
- Accurate scales — kitchen scales are fine, so long as they read in grams
- A flexible mixing container with a pouring edge
- A mixing spatula that reaches the sides and base
- Water at room temperature
- Something to protect the worktop
The sequence
-
Prepare
Clear a flat surface and protect it. Set the mould down where it will stay until the piece has set — moving a filled mould is how edges end up uneven. Check the mould is clean and completely dry inside.
-
Work out the quantity
Fill the mould with water, tip that water into your container and weigh it. That weight, in grams, is roughly the total mix you need. Add about ten per cent so you are not scraping the container. Then empty and dry the mould properly.
-
Weigh the powder and the water
Weigh them separately, both in grams, using the ratio in the mixing-ratio lesson. Weighing is the step people are tempted to skip, and it is the one that decides whether you can repeat the result.
-
Mix
Add the powder to the water rather than the other way around — it wets through more evenly. Mix steadily until there are no dry pockets and the surface looks even. Stir deliberately rather than quickly; whipping air into the mix is a problem you will meet again at demoulding.
-
Pour
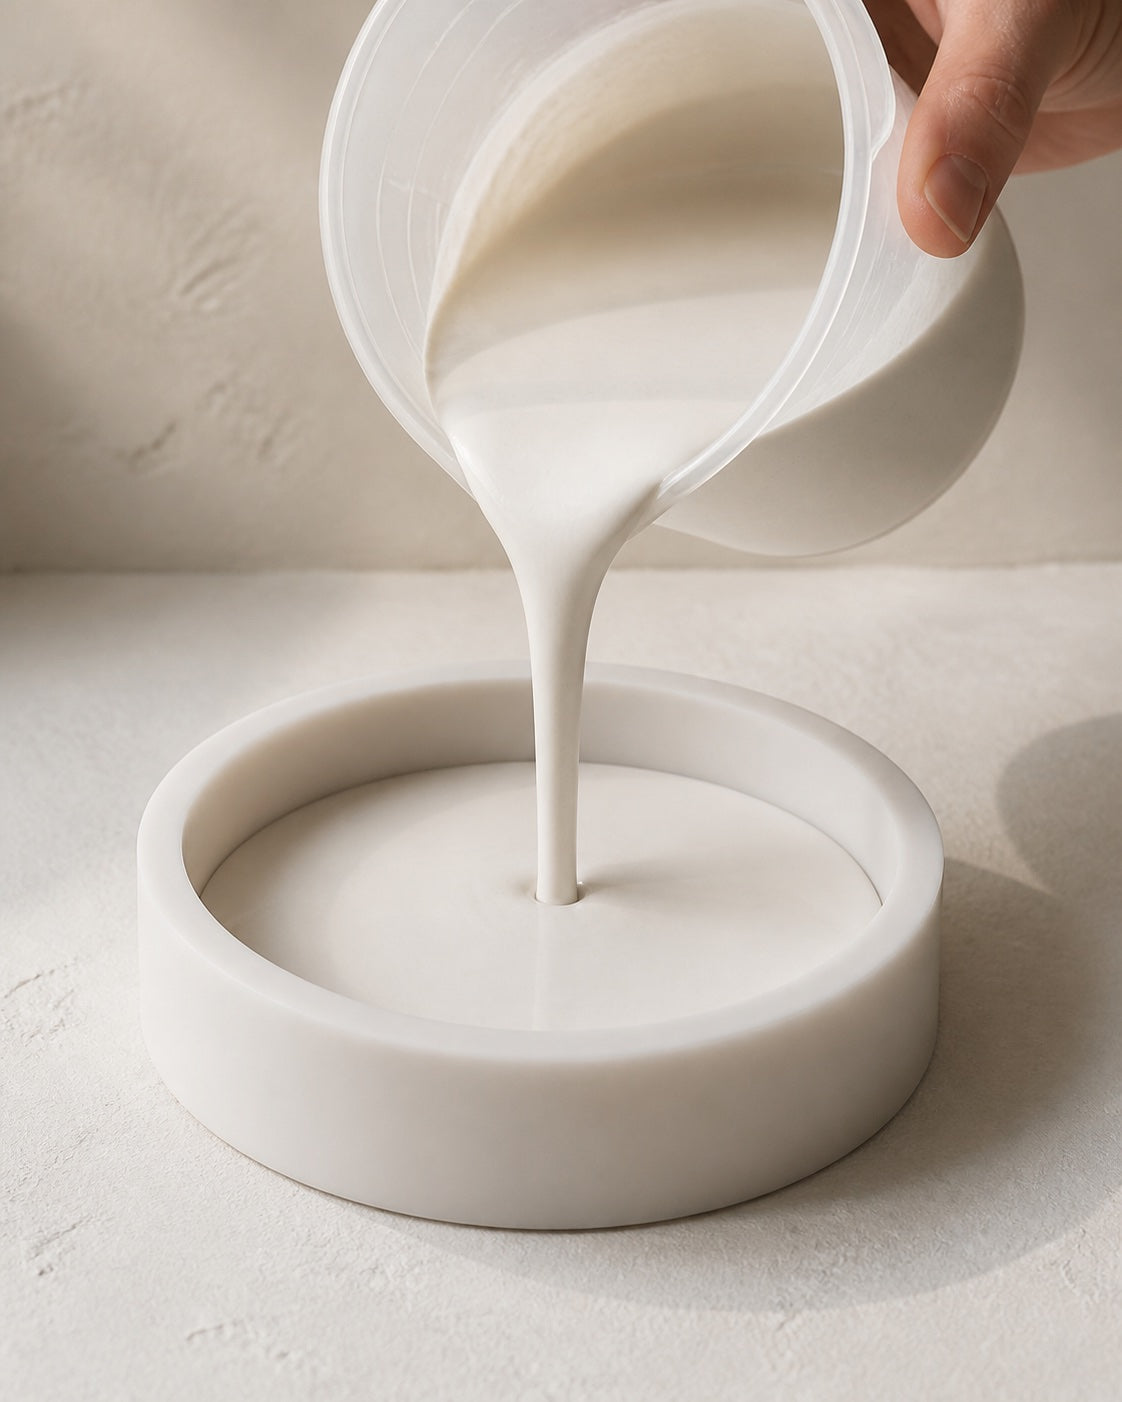
Pour in a thin, continuous stream into the lowest point of the mould and let the material find its own level. A steady stream from a low height carries less air than a fast one from high up.
-
Settle
Tap the mould firmly against the worktop several times. Bubbles rise and break at the surface. This takes seconds and makes a visible difference to the finished face.
-
Wait
Leave the piece completely alone on a level surface. Do not test it with a finger — a fingerprint pressed into a setting surface stays there. Leave it for 25 to 30 minutes before you demould.
-
Demould
Peel the silicone back from the edges rather than pulling the piece out. Work around the whole rim, then invert and let the object drop into your hand.
Things worth knowing
- The first one is a test
- Treat the first pour as a way of learning your mould and your scales. Makers who expect the first piece to be a keeper are the ones who give up at piece two.
- Write down what you did
- Ratio, total weight, colour, how long you left it. Three lines in a notebook turns a good accident into something you can do again.
- Level matters more than you think
- A worktop that slopes slightly gives a piece with a base that is not flat. Check it before you pour, not after.
Common first-pour mistakes
Measuring by eye. The ratio is the one number that changes everything downstream — guessing it makes every other decision unreliable.
Pouring from height in a rush. It looks efficient and it drives air straight into the piece.
Demoulding early because you want to see it. This is the most common cause of a piece that breaks at the rim.
Questions people ask
What is the correct mixing ratio?
3 parts powder to 1 part water for the most fluid mix and the finest detail, or 4 parts powder to 1 part water for the strongest piece. Both are measured by weight in grams. The mixing-ratio lesson explains which to choose.
How long does it take to set?
You have 8 to 10 minutes to pour once it is mixed. Demould after 25 to 30 minutes, and give it 24 to 48 hours to cure fully. Waiting longer than you think you need to costs nothing; demoulding early costs the piece.
What happens if I get the ratio wrong?
Too much water tends to give a piece that stays soft longer and feels weaker. Too little gives a stiff mix that will not flow into detail and traps air. Neither is dangerous — start again and weigh it properly.
Can I pour a second layer on top of the first?
It is better to pour a piece in one mix. Adding a second pour to a partly set first one can leave a visible line where they meet.
