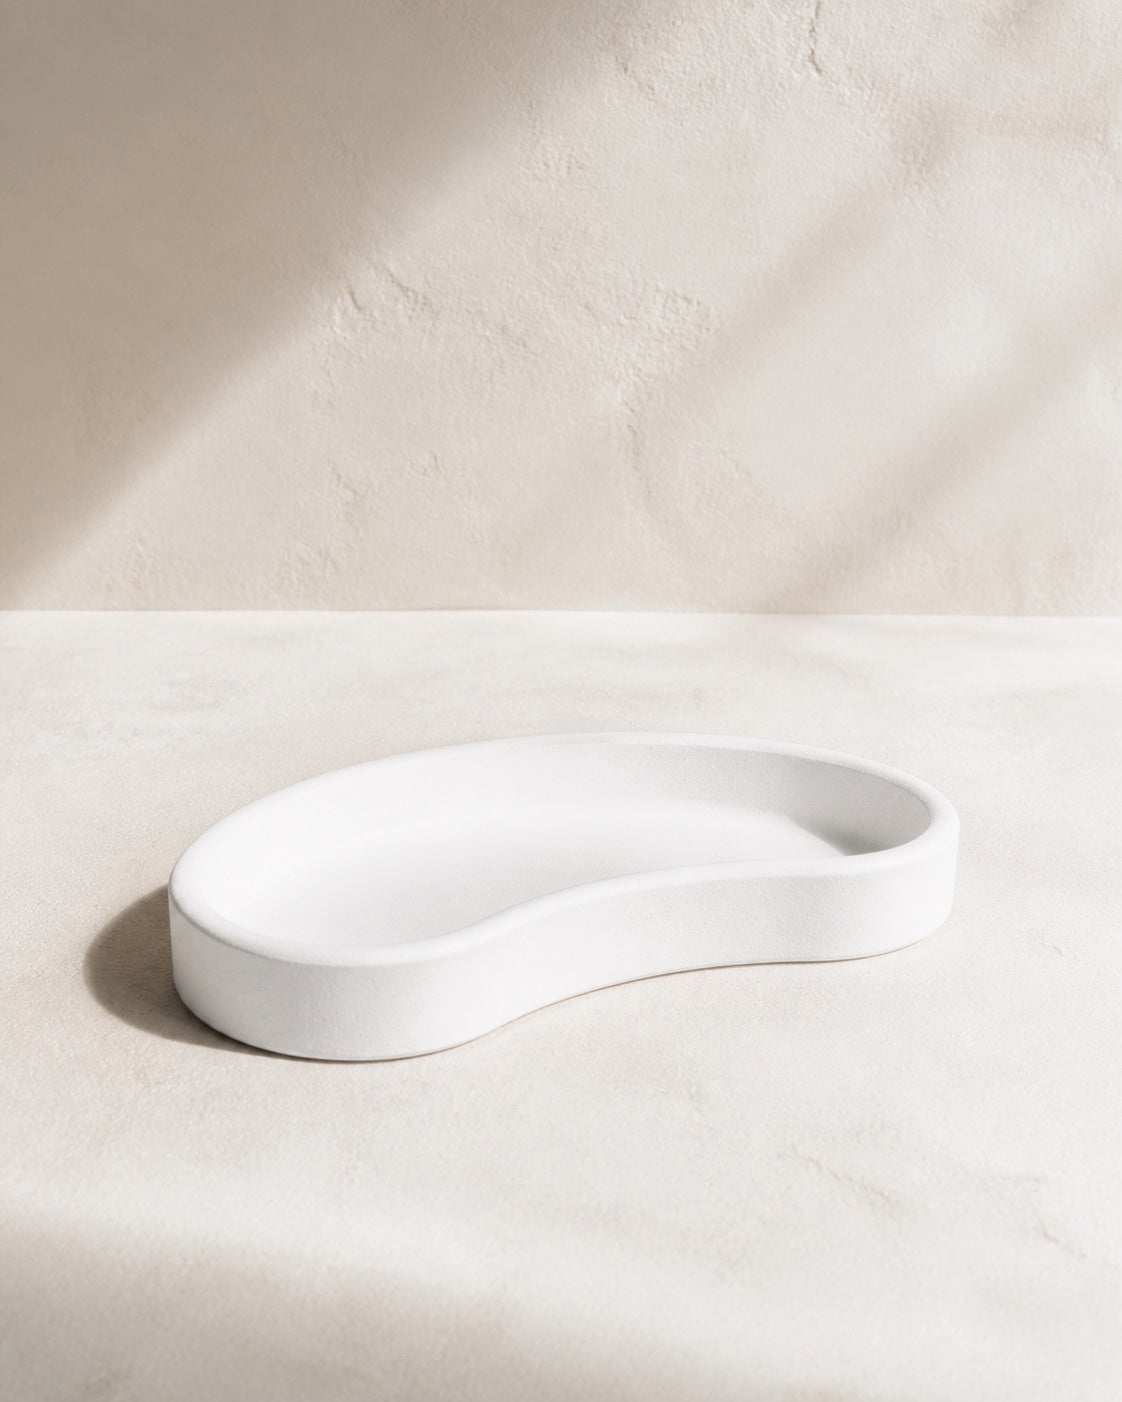
Proposed experience · the unit of learning is the piece, not the article.
First make · no experience needed
Flow Tray
Capability Mix, pour and demould a flat open form
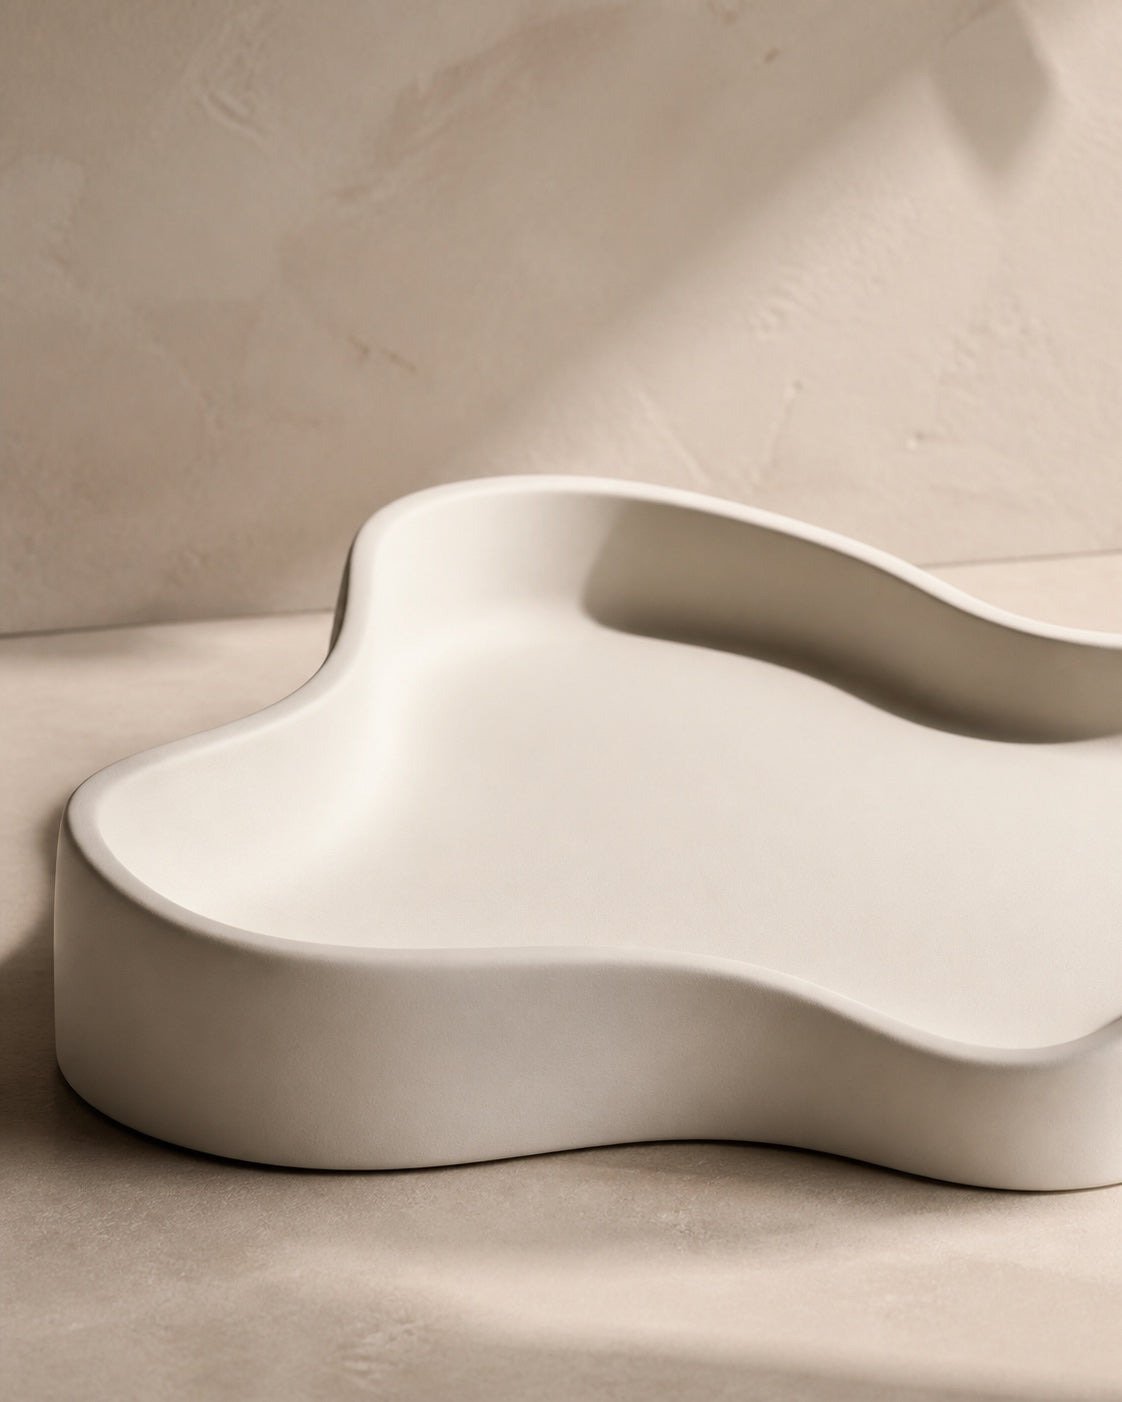
A broad, softly sculpted tray. One open mould, one mix, no colour — the make that teaches you the material.
- You will end up with
- A tray roughly the size of both hands, with a smooth face and a soft edge.
- Time
- About an afternoon
- Steps
- 9
Before you start
What you need.
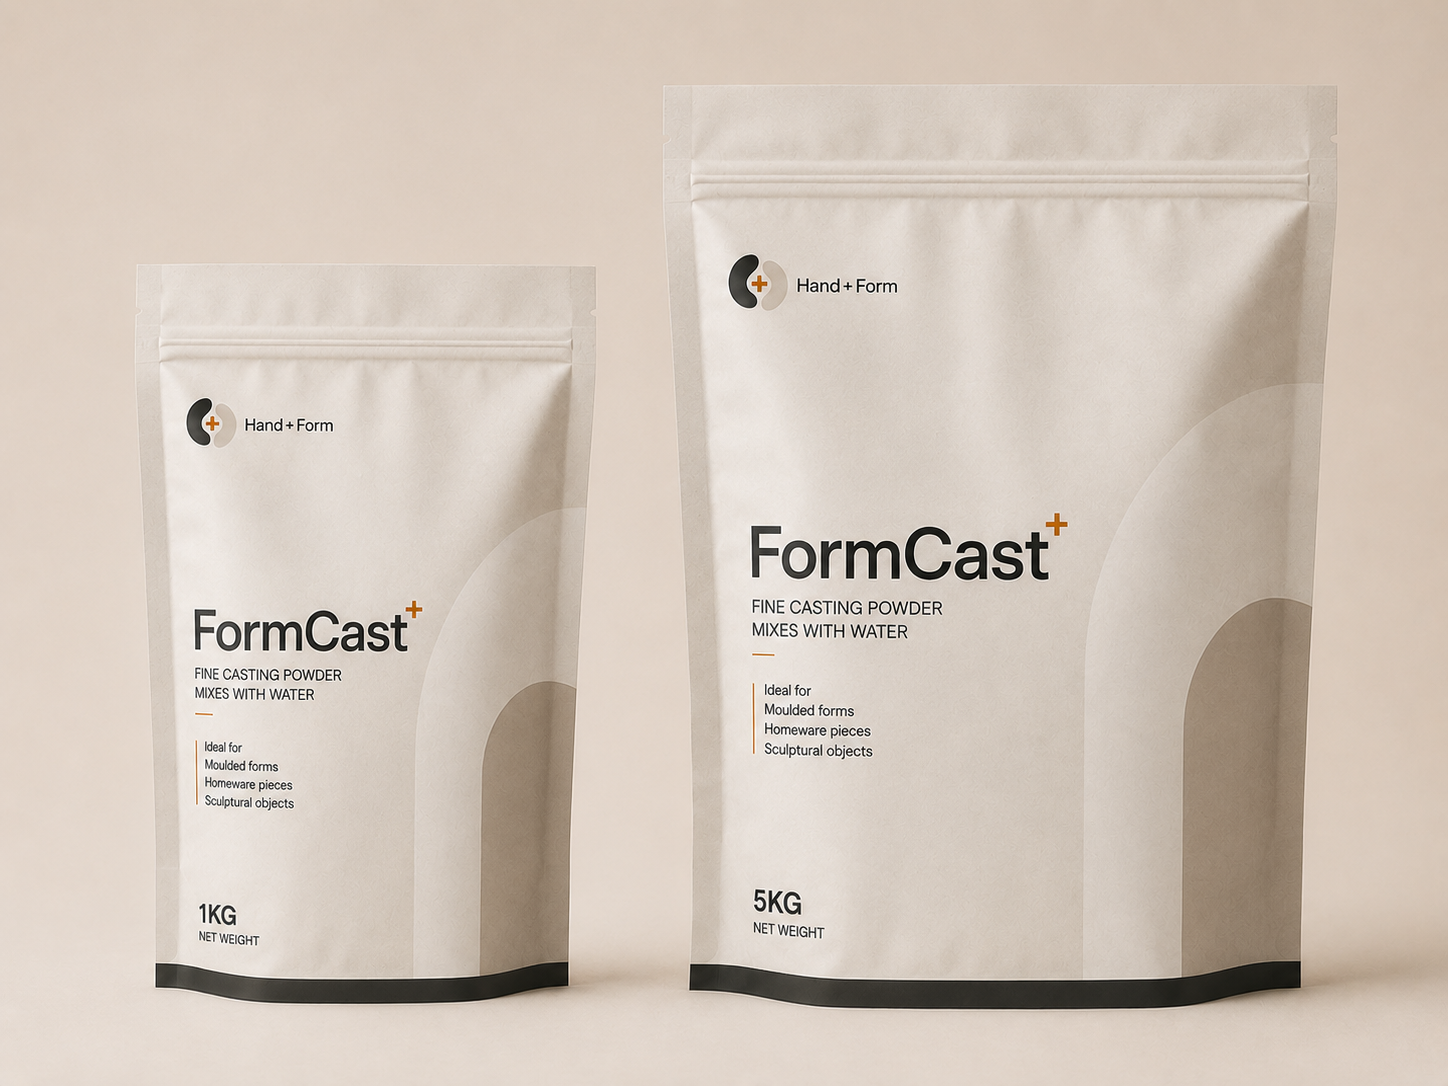
 Mixing SpatulaA mixing spatula from HAND + FORM, available in 20.7...£3.99
 Plus accurate scales and water. Commerce sits here, once, at the moment it is genuinely useful — and not again.
The one number
Feel what the ratio does.
The make
Flow Tray, step by step.
Tick a step as you go and this page remembers where you were — no percentages, no scoring.
-
Set up before you open anything
Clear a flat surface, protect it, and put the mould where it will stay until the piece has set. Check the mould is clean and completely dry inside.
-
Find out what the mould holds
Fill the mould with water to the level you want to cast to, tip that water onto the scales and note the grams. That is your total mix. Add about ten per cent, then dry the mould properly.
-
Weigh the water, then the powder
Water into the container first, on the scales, zeroed. Then the powder on top of it. Both in grams.
-
Mix with the spatula below the surface
Steady, deliberate strokes. Scrape the sides and the bottom corner. Stop when the mix is even — no dry pockets, no lumps.
-
Pour low, thin, into one point
Bring the cup close to the mould and pour a thin continuous stream into the lowest point. Let the material travel outwards on its own.
-
Tap it out
Tap the filled mould firmly against the worktop, more times than feels necessary. Bubbles rise and break at the surface.
-
Leave it completely alone
Level surface, out of direct heat and draught. Do not test it with a finger — a fingerprint pressed into a setting surface stays there.
-
Demould by peeling, not pulling
Work round the whole rim, easing the silicone back. Then invert and let the tray drop into your open hand.
-
Take the edge back
Once the piece is properly dry, work the rim with abrasive paper, then the face if it needs it. Check in raking light — hold it so light travels across the surface.
While it sets
What to notice.
- The face against the mould
- It is smoother than the face you poured. That is the mould surface, recorded. It is also the reason mould quality matters more than technique at this stage.
- How the edge feels
- Run a thumb round the rim before and after sanding. That difference is the whole argument for finishing.
- What the colour does as it dries
- The piece lightens as it loses moisture. Judge nothing about colour until it is completely dry.
If it did not work
That is the normal way in.
Nothing here is wasted — a failed cast is terrazzo chips and a piece of information about your process.
When you have made it
Put it on the shelf.
Work through the steps at your own pace, then mark the piece made.
On your shelf
You made the Flow Tray.
It is recorded on the workshop page. The record is of pieces made, not pages read.
Make it again, differently
The second one is
where it gets good.
Pour the same tray at 1:3 instead of 1:4 and put the two side by side. One variable, one comparison, real understanding.
The same form in Sand Ochre is a different object. Colour goes into the water before the powder.
How to colourThree from one mix tells you how consistent your process is. One piece only tells you about itself.
One next step, never three
Kidney Catchall
An organic outline with a considered curve — and the make where you put colour through the material for the first time.
Open this make