Proposed experience · the unit of learning is the piece, not the article.
Variant · you already know this method
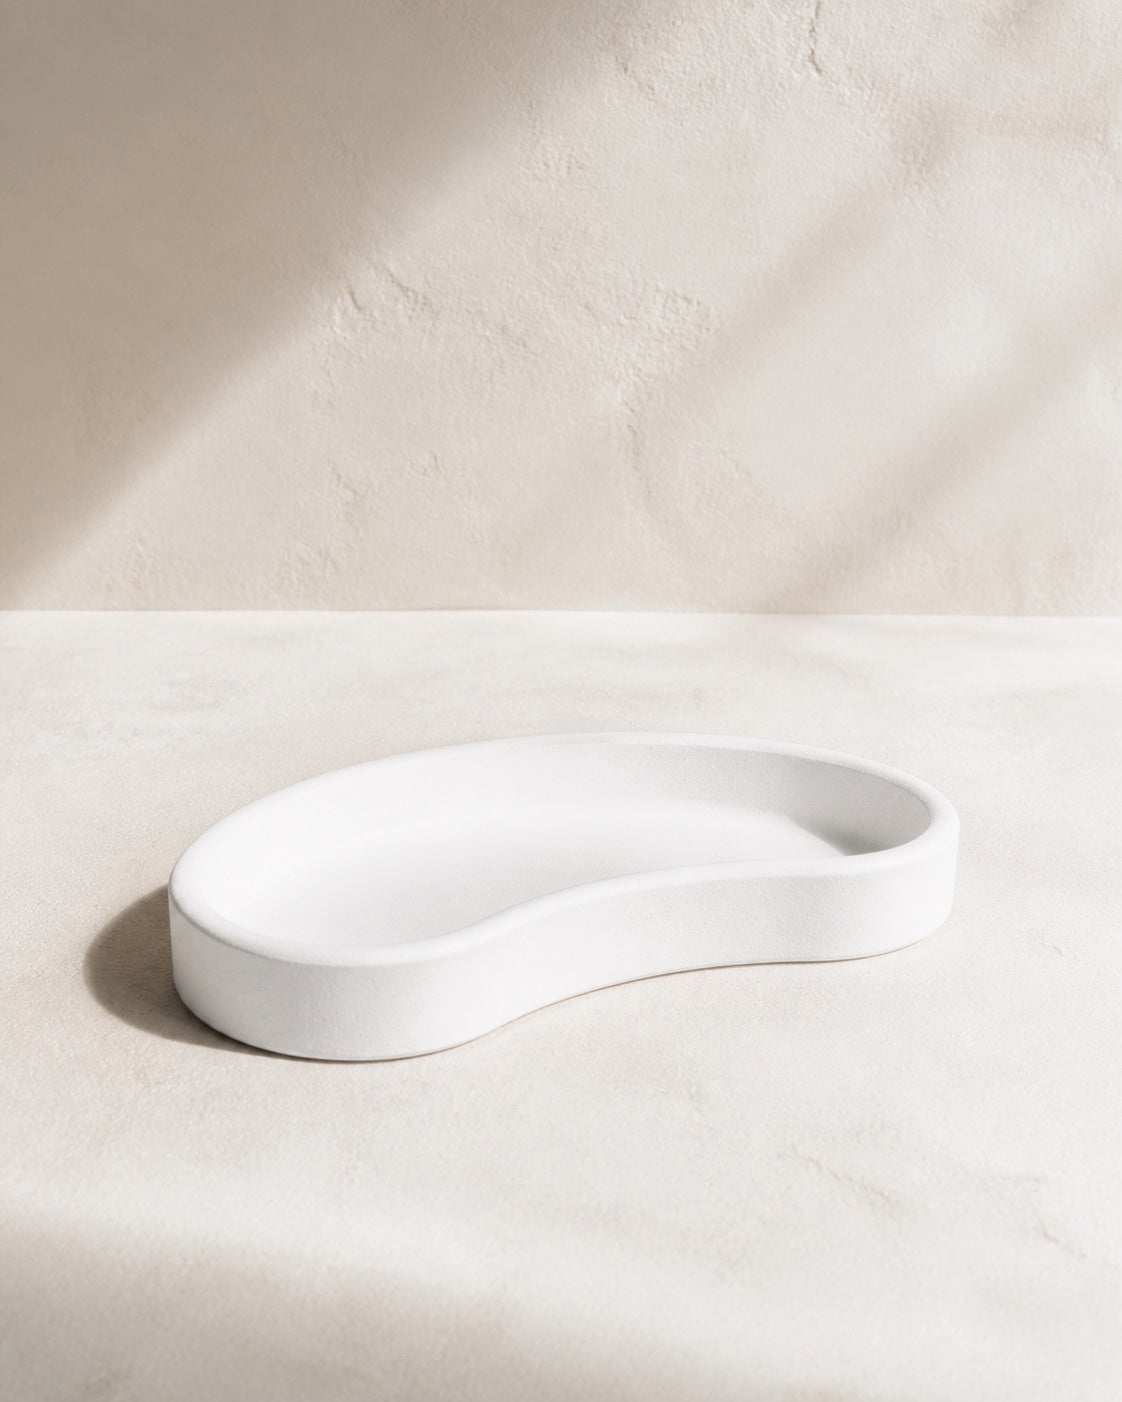
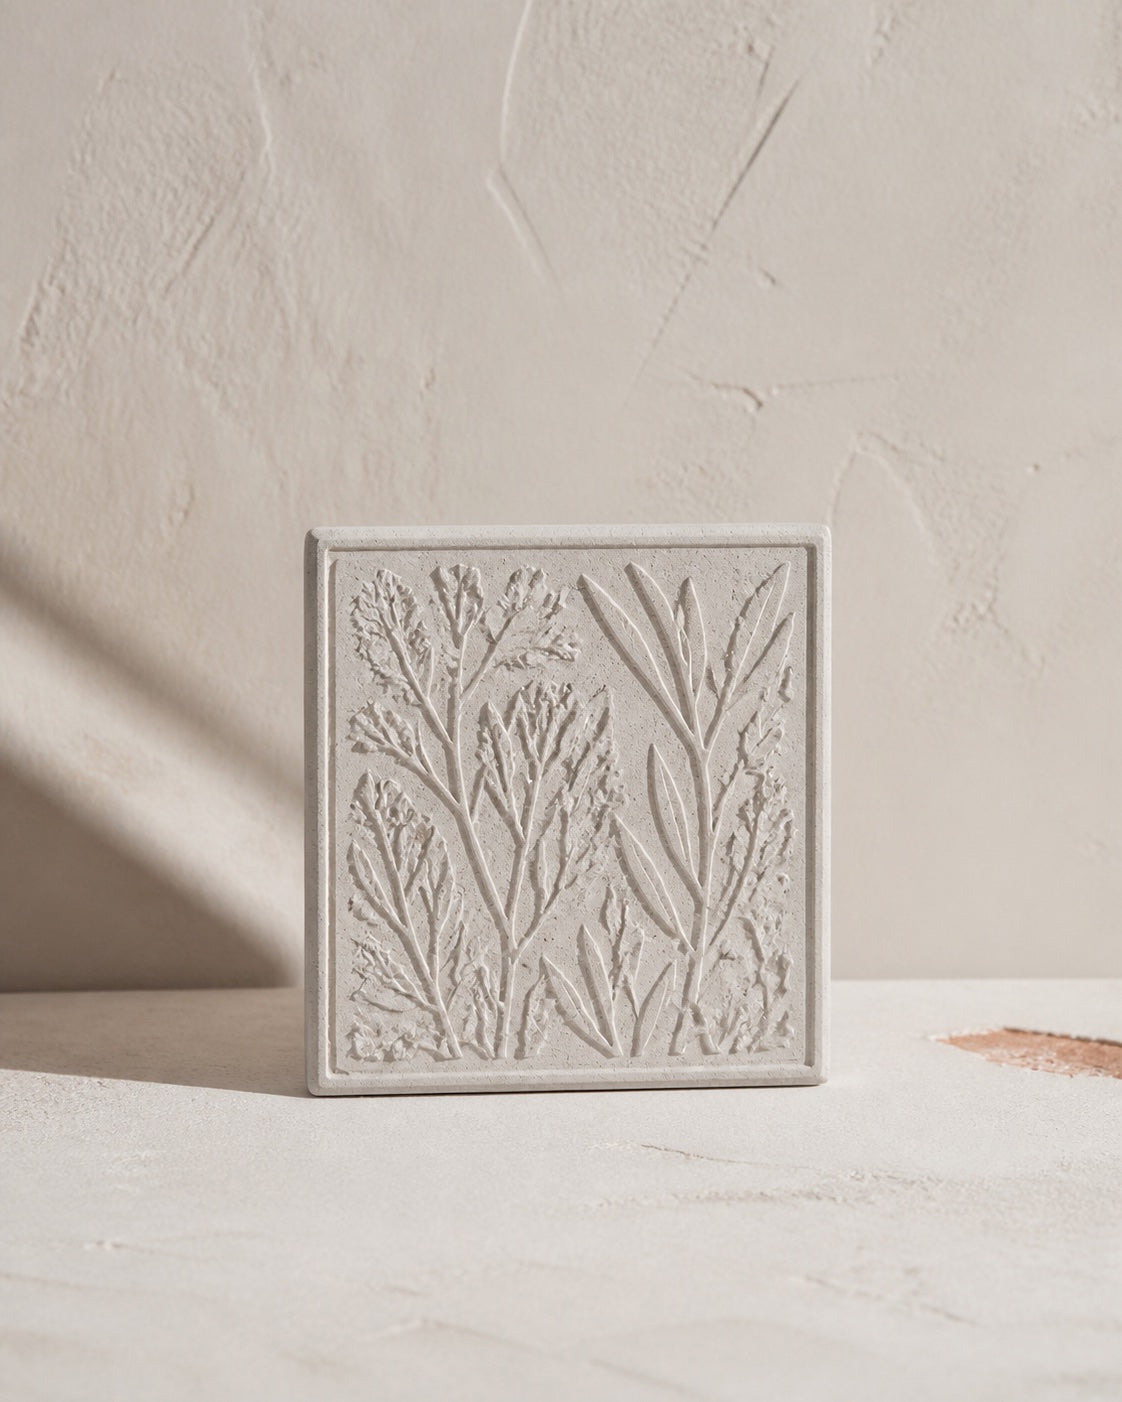
Ripple Dish
Capability Mix, pour and demould a flat open form
The same casting method as the Flow Tray, against a textured mould. Three things change; everything else you already know.
- You will end up with
- A shallow dish holding a fine surface texture across its face.
- Time
- An afternoon
- Steps
- 4
A variant, not a new course
Same method as the Flow Tray.
3 things change.
You already know this process. Rather than repeat it, this make states only what differs — which is how the library grows without becoming thirty mini-courses.
Revisit the Flow Tray method- 01
A textured mould, so the mix needs brushing into the detail before the main pour.
- 02
1:4 rather than 1:3 — the smoother mix is what carries the ripple.
- 03
Sanding stops at the rim. Cutting the face back would flatten the texture you cast it for.
Before you start
What you need.
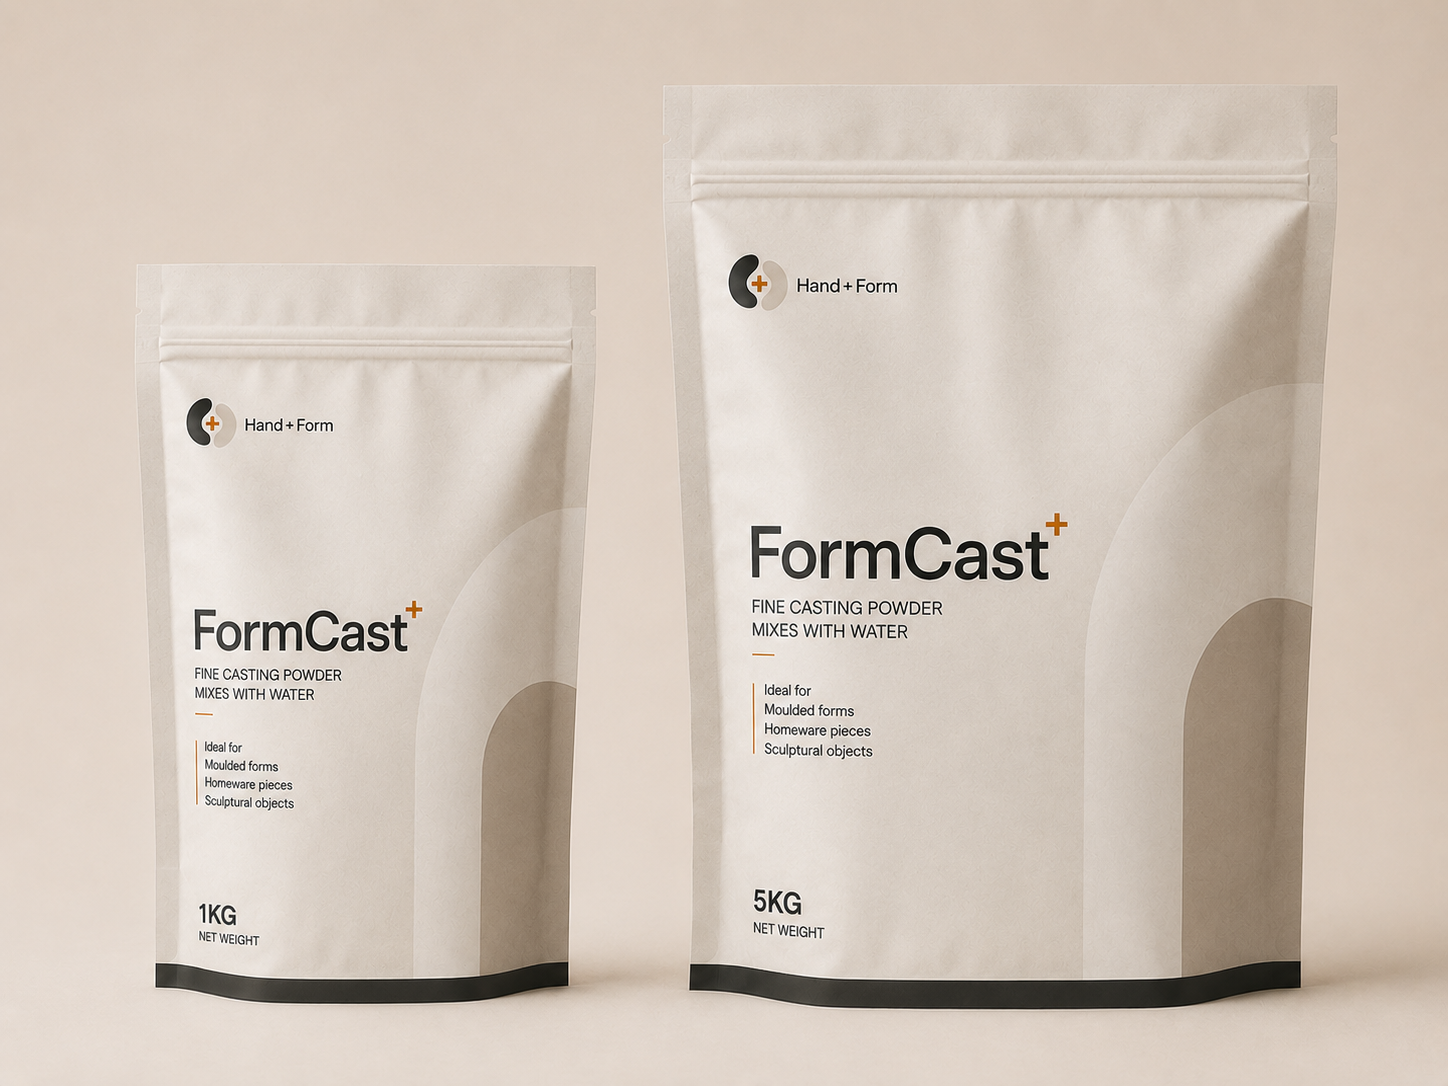
 Mixing SpatulaA mixing spatula from HAND + FORM, available in 20.7...£3.99
 Plus accurate scales and water. Commerce sits here, once, at the moment it is genuinely useful — and not again.
The one number
Feel what the ratio does.
The make
Ripple Dish, step by step.
Tick a step as you go and this page remembers where you were — no percentages, no scoring.
-
Brush the detail before you fill
Work a small amount of mix into the textured face with a soft brush, pressing it into the relief. Only then pour the rest.
-
Pour at 1:4, low and slow
The smoother mix is what travels into the texture. Pour into the lowest point and let it rise through the detail.
-
Tap, but watch the face
Tap to release air as usual. A textured mould holds more of it, so this takes longer than a flat one.
-
Demould patiently, finish only the rim
Release the whole rim, invert, and let it drop out. Sand the edge — leave the face alone.
While it sets
What to notice.
- How much detail survived
- Compare the cast face against the mould. Whatever is missing is where air stayed — that is your feedback for the next one.
If it did not work
That is the normal way in.
Nothing here is wasted — a failed cast is terrazzo chips and a piece of information about your process.
When you have made it
Put it on the shelf.
Work through the steps at your own pace, then mark the piece made.
On your shelf
You made the Ripple Dish.
It is recorded on the workshop page. The record is of pieces made, not pages read.
Make it again, differently
The second one is
where it gets good.
Cast the same mould at 1:3 and compare how much relief you lose. That comparison is the beginning of Master.
One next step, never three
Kidney Catchall
An organic outline with a considered curve — and the make where you put colour through the material for the first time.
Open this make